

This hull is spin off of another hull I was working on over the winter. That hull, the Green River Drifter was a variation on my drifter hulls with a “beveled” chine panel on the lower sides, but still had a single piece bow and stern panel. I wanted to add more width to the lower part of the hull without making the beam too wide. So I added an extra lower panel to the sides at an angle to give the hull more “slide” in the water and not have a sharp straight edge for the water to catch and pull down. That hull design is finished and I just need to do the lofting and supporting drawings to get it ready to post here.
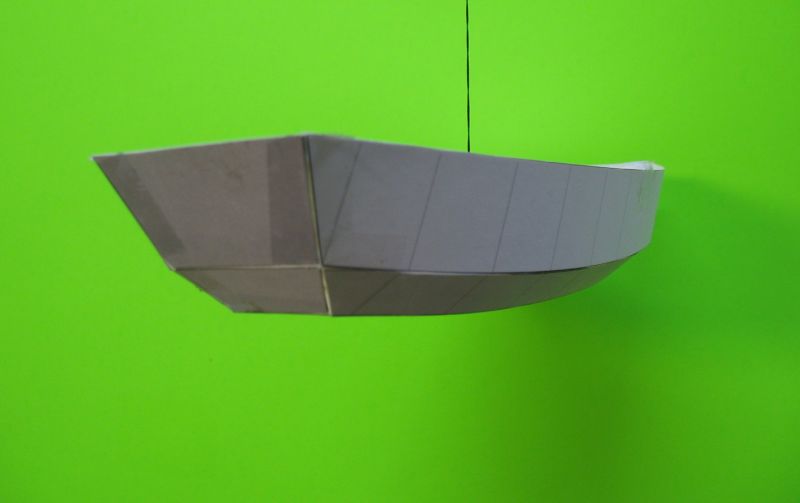
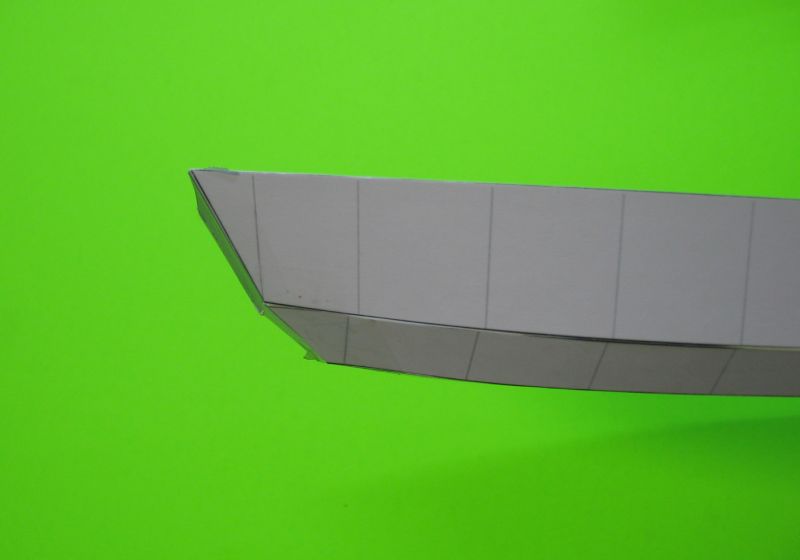
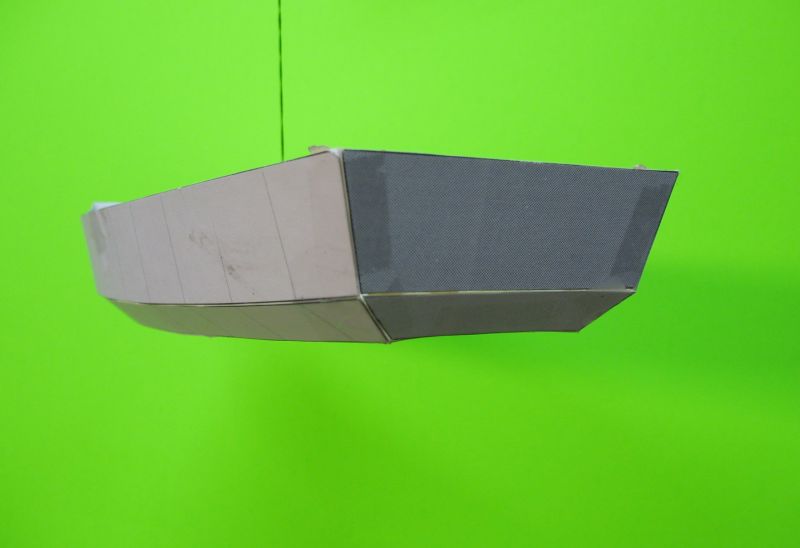
The Naselle River was a “what if” I beveled the chine all the way around the hull to reduce the wetted area with a light load and as the hull is loaded up the sides flare out and increase displacement. That was my goal and I took a Nuthatch Pram model, used a flat bottom, and changed up the way the panels form the hull, and was pretty close on the first try to how I wanted the boat to look. Then it was go back and change the things that didn’t fit or didn’t look right to my eye. Then it was change the width of the bow and stern panels until I though it looked like a hull that I would want to make. I changed up the height of the side panels, and the whole hull to give it more depth so it would have more free board for rough weather, and possible choppy conditions if caught out in a storm.
To keep from having to “rebuild Rome”, I added some drawing pages from some of my other hulls to speed up the build plan drawing process. I also indicate in the plans to download some of my other “free study plans” from other hulls to see different ways to build a boat interior that I may have overlooked on this hull. Everyone has their idea of what they want their boat to look like and that’s fine with me; but I can’t foresee what a person wants, so I offer up alternative ways to build an interior from the other hulls that I have designed. You just have to stay within reason of what you create and not overload the hull with “stuff” that makes it not seaworthy.
I was surprised to see what the possible finished hull weight could be, and I had to go through and check it again to be sure I had if right. But when I measured out the size of the hull in my yard, I can see where the weight came from. It’s not a small boat, but should be a stable one and carry the intended weight I projected. I show in the plans that the bottom could be made from ½” (12mm) plywood, but I think I would make the whole hull out of 3/8” (9mm) and add (epoxy) extra plywood to the inside of the hull between the seats where people will be standing. That area can be made from scrap plywood left over from the construction, or some exterior grade 1/4” plywood (preferred, making it 5/8” thick). If you make it from scrap, you can put on a layer of glass cloth over the top and paint it. Maybe add some sand to the paint when it’s wet to add a traction layer.
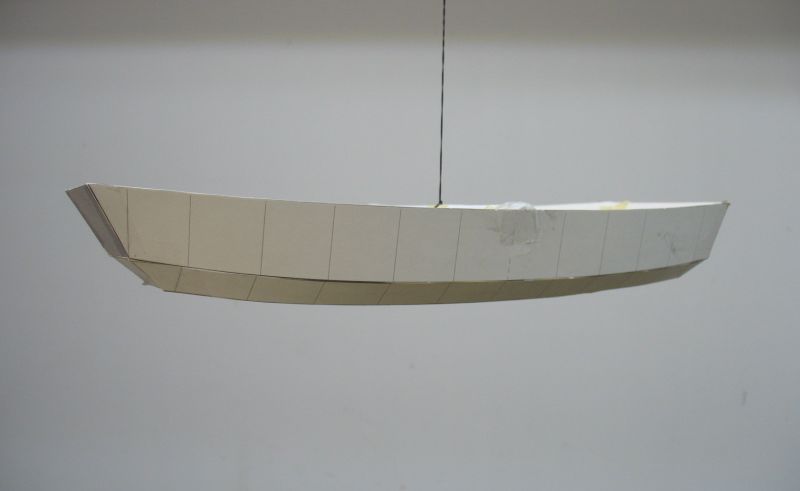
The final hull hangs off a cabinet in my kitchen over the eating area so I can look at it over time and see if it’s still something I like or if there’s a line that is nagging me to be changed. As I write this I’m looking at the model and I still like the looks of the hull. The overall length is 12’ 3” and the beam is 64”, and the hull has a good depth (18”) to it to keep out the water. This will let you add a fishing seat to the interior and not be sitting too high in the hull to make it unsteady. I would rate this hull as a good two person hull, with maybe a third person added to the overall weight. I’ve listed a 10hp Outboard for the hull if you plan to use one. Being wide, you will need at least 9ft oars if you row it.
Click HERE for free Study Plans
Click HERE for a printable model
Warren Messer
Red Barn Boats
Stitch and Glue and Stylish Too


