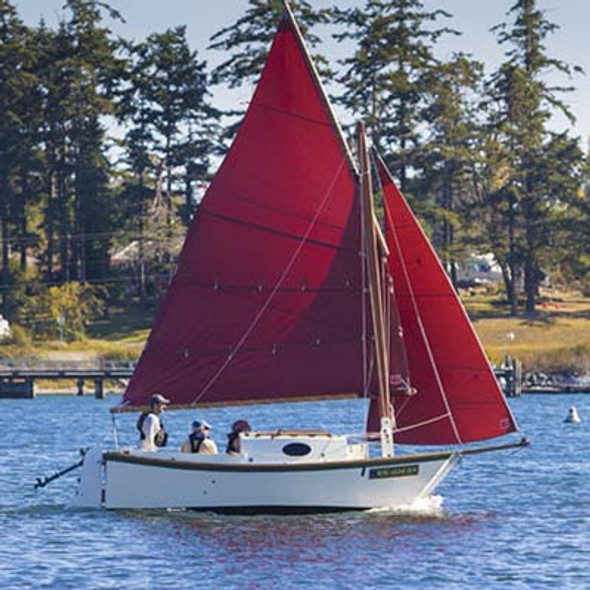
Description
This is a boat for the person who would rather spend time on the water than in the shop. All joints are first attached with copper wire for positioning and then taped with fiberglass cloth tape and epoxy for the structural connection. The components are all made on the bench. The curves are all arcs or straight lines. No lofting is required. There is no strongback or jig, only a single temporary former which is not attached to the floor. The side and bottom panels have the same curvature at the chine. This means that they match when stacked flat and may be wired together flat. The sides are raised to their end position and the former and transoms installed. Slots in the sides engage tabs on the transoms to ensure easy and accurate positioning. I call it "The Presto System"(tm). The sides impart rocker to the bottom, the bottom imparts curvature to the sides and the end seat-bulkheads give the sides the designed flare, so everything comes out as intended. It is easier to build than a "Mortar Box", and produces a boat that looks like a boat.
This process requires no boatbuilding expertise. It produces a boat which looks good and is light, strong, permanently tight and, given reasonable care. very long lasting. Some may not like the looks of the "Scow Bow", but it makes a very practical boat, as shown by the popularity of Garvey/Johnboat/Pram types.
PRESTO 16 THE MODEL
The model and the full sized boat are put together in the same way. The main difference is size. However, there are some differences due to scale. we can wire the full size parts together. we cannot do so with the model. I use drafting tape instead of wires. I cut the 3/4" tape down the middle into strips about 3/8" x 2". I turn a little of the end back on itself so the tape will be easy to remove.

Panels flat on floor - sides "wired" to bottom
The side panels are taped to the bottom in the flat, with tapes at about 1" spacing. when the sides are spread the former is installed and then the transoms and the boat shape is established. The transom tabs are wedged to hold things solidly in correct relation. The tapes will have loosened. They should be tightened. Some rubber bands may be used to take up slack at obvious places. when everything is in place the joints can be bonded on the inside. Duco Cement is used. Apply the cement in spots, not continuous. This is important. The cement shrinks on drying. with spot bonds the shrinkage is dissipated locally, but with a continuous bond the shrinkage will distort the model.

Side panels raised, forming rocker - temp former installed
We install the end seats, at least temporarily, before the bond is fully set. This is more important on the full size boat when we are taping the inner seams. The end seats give the ends their shape; the planks have a tendency to straighten out at the ends but the seats push them out where they belong. when the seats are bonded into place the tabs and extra length of the sides can be cut off. Sharp scissors work pretty well. The sheer stringers are laminated to shape before installation, so they go on without a struggle. I use white glue here. wooden spring clothespins make good clamps for this job. The extra length will be cut off and the ends nicely rounded. The installation of the thwart-trunk combination and the skeg needs no explanation.

Transoms installed
The cardboard works pretty well for modeling purposes. Thin plywood, which is sold in model shops, would make a better looking model. The trouble with cardboard is that there is no real bond between the layers of pulp. The edges bond well, but something bonded to the surface may lift off the outer layer. Pricking the surface may help by permitting the cement to penetrate. A needle set in a wood handle makes a good pricker. At first I had trouble with needle breakage, using regular embroidery needles, but then I changed to a sail needle, which is strong enough for the job.

Model finished
J. C. Dobler
LOA - 15'-9"
BEAM - 4'-8"
Taped Seam Plywood


